
The “Form Wizard” section allows you to create new forms for JoomCRM.
To create a form
- Navigate to Components ... JoomCRM ... Form Wizard.
- Click the new button to create a new form
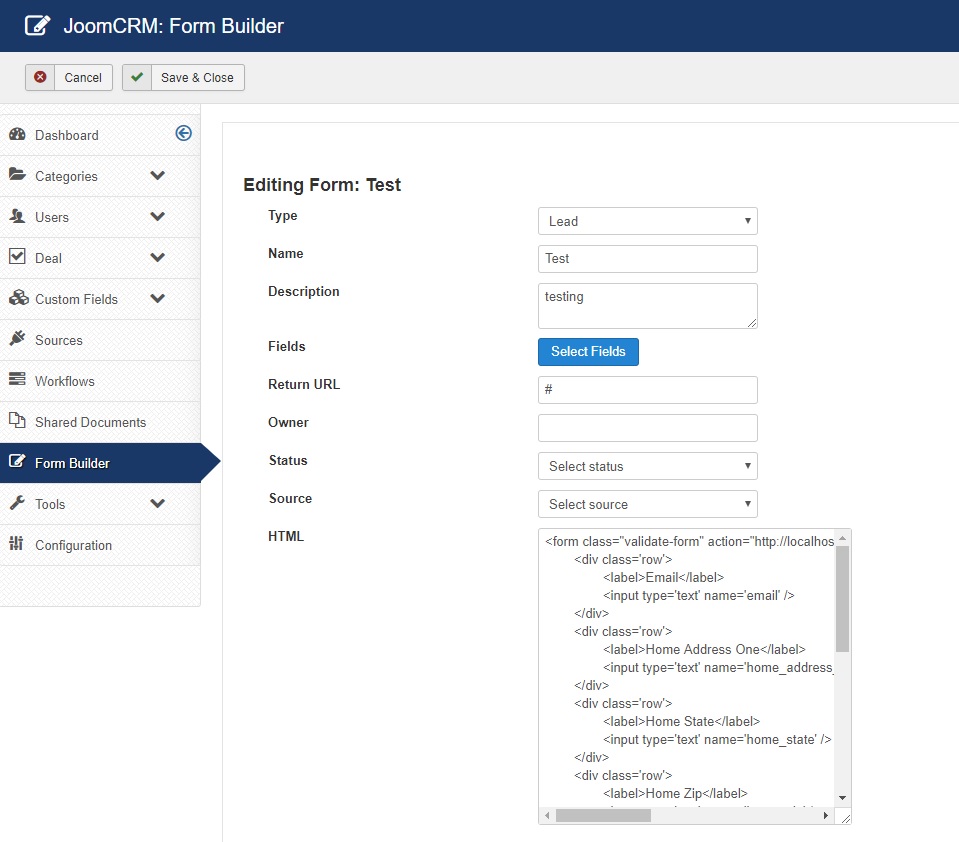
- Select the type of form, lead or contact
- Type the name of the form
- Type the description (this step is optional)
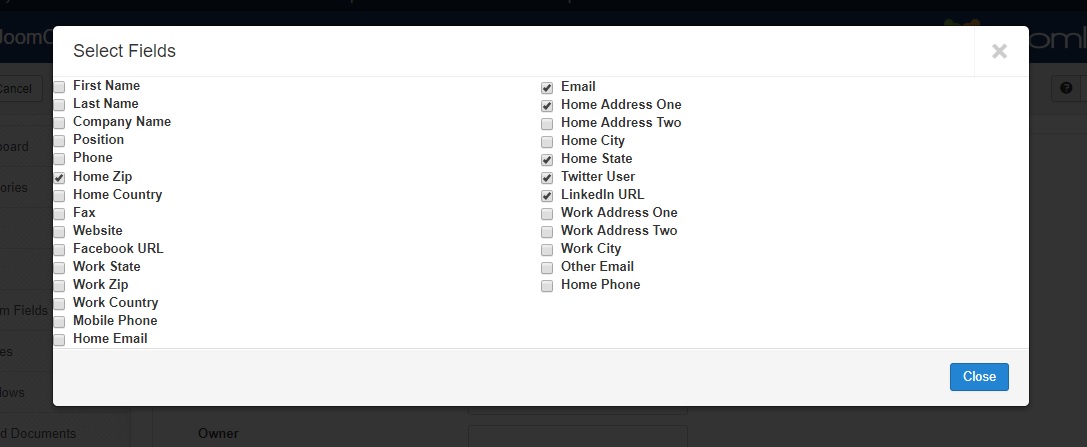
- Click the select fields button and within the select fields box, click and place a checkmark besides each field that you wish to appear for the form.
- Once finished selecting your fields, click the close button on the select fields box.
- Enter your return URL / web address that you wish JoomCRM to redirect to after successfully submitting the form (example: some set this to the home page of their site)
- For Owner, start typing the name of the JoomCRM user who will become the owner of the form's content / data upon submission
- Select the Status, if there is one. This step is optional
- Select the Source, if there is one. This step is optional
- Once finished with steps 1-9, click withing the HTML field / box, and copy the JoomCRM form code
- After copying the JoomCRM form code, you may then take the code that was generated by the JoomCRM form wizard, copy it and place it within your website.
- To place the JoomCRM form code (that you copied in step 12) within a Joomla article, navigate to the Joomla Administration and create a new article. Click the toggle editor button, and paste the form code within the Joomla article.
Note: After pasting the code, we recommend NOT clicking the toggle editor button a second time. Some Joomla editors will strip out code from the article if it detects it. Instead, click Save & Close - For a Joomla article to show up on your site, we recommend creating a Joomla menu link to the article. This will make it easy to access and view your Joomla article such that either you or a visitor to your website can fill out the JoomCRM form and contact details (example: first name, last name, email address etc).
- When a user submits data for the JoomCRM form on your site, the data will show up in the JoomCRM user's account / owner that was defined in step 9
Definitions
- Type - is the type or kind of form such as a lead or contact.
- Name - is the name or title of the form.
- Description - is a summary of the form.
- Select Fields - are the types of fields you wish to create such as name, address, city, social networking fields etc.
- Return URL - is the url or web address to be redirected to after a successful completion of the form.
- Owner - is the owner of the form and any submisions to the form. You may choose the owner by typing the name of an existing JoomCRM user. After selecting the name, the name will be replaced by the JoomCRM user id number.
- Status - this is a hidden form field for assigning a "People Status" to the form. You may select any default status value or choose any custom ones that you have created. The "Status" is the state of the relationship with the person such as Hot, Warm, Follow-up, Cold, etc.
- Source - this is a hidden form field for assigning a "Source" to the form. You may select any default source value as well as any custom ones that you have created. The "Source” helps you track the return on investment for marketing, advertising, and other sources
- HTML - is the html code for the custom form.